Showing posts with label shabby. Show all posts

Monday, August 6, 2012

Last Weekends Charity Shop Haul.

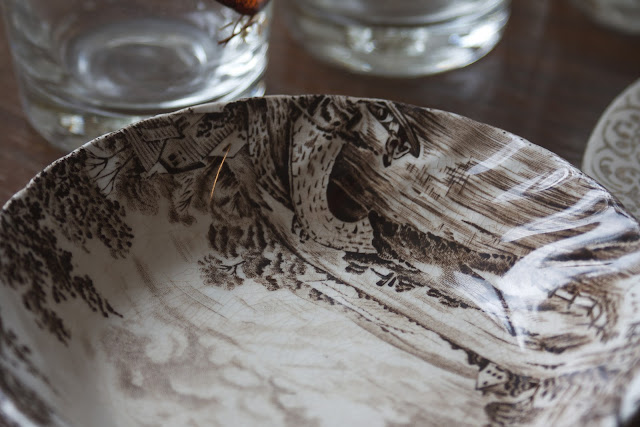
I was really excited to find all these little beauties in one charity shop at the weekend! I acquired 4 matching pheasant glasses, a well worn Jubilee side plate and a little bowl perfect for nibbles.


I was so lucky to have found these little treasures and only paid the very reasonable price of... £2.80 for it all!


I spotted these glasses immediately, they are just so rurally kitsch, reminds me of being back in Shropshire. 


I did stand their mulling over this plate for quite a while. It was a lot more battered than I usually like, but for some reason I think the wear and tear made it even more irresistible. 


I really love how all the gilding on it is a little bit shabby. I love to imagine all the use it has had over the years. 


This is the perfect size for nibbles when we have guests over, I'm excited to look out for more like this.


I think the colour and pattern on this, whilst being a little subdued, is really eye catching.

I was super happy with this charity shop haul, I must have had the junk fairies on my side that day.

Friday, July 27, 2012

Ed's Shed - DIY Shabby to Chic Table.

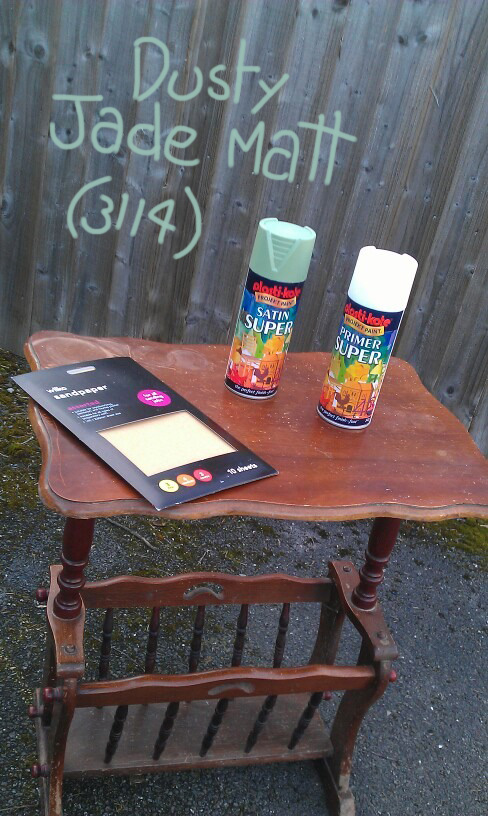
We love shabby chic and we especially love how you can achieve this look by being thrifty and not spending a lot of money. If you take a look in high street furniture shops you'll see new vintage inspired tables, chairs, shelves, everything to give your home a splash of 1950s colour. And you will be pleased to know that all you needed for this this project is some matt spray paint and a very shabby table and you can create a unique piece for a snip of the price on the high street. 


I used Plastikote spray paint, but you can use any brand and colour that you like, as long as it is a matt finish. It is also best to do restoration work outside, that way the dust and paint can't make a mess. First, sand down the table, this gives it a rough surface for the primer to stick to. Sandpaper comes in various grades, from course to fine. Course sandpaper will work fast, but might leave big scratches, so I tend to use finer paper and take my time. Fold a piece of sandpaper into a square and work your way across the surface of the table using a circular motion. Fold up smaller pieces for the hard to reach areas.


Shake the primer can up for a few minutes. Keep the can around 30cm away and start spraying. The trickiest part is resisting the temptation to cover everything in one go. Spray a light even coat, let it dry a little then spray again. Repeat this until the primer covers everything then leave it to dry. Then use exactly the same technique to spray your matt colour layer. 


And there you have it a one of a kind, shabby to chic table.