Showing posts with label face. Show all posts

Friday, May 3, 2013

Kitchen Glamour - Refreshing Face Mojito.

I love Mojitos, they are the epitome of summer fun and frolics. So with spring in full throw and the promise of summer getting nearer I was inspired to make a mojito for my face. My pot of mint is thriving under the windowsill, I love rubbing the leaves as I walk past and smelling the fresh scent. I put about 3 healthy springs in this refresher, mint is really good for the skin, not only can it be soothing for irritated skin, but its high amounts of salicylic acid loosens up dead skin cells, which can help stop your pores from clogging. Mint also has vitamin A in it which means that it can strengthen and balance oily skin.

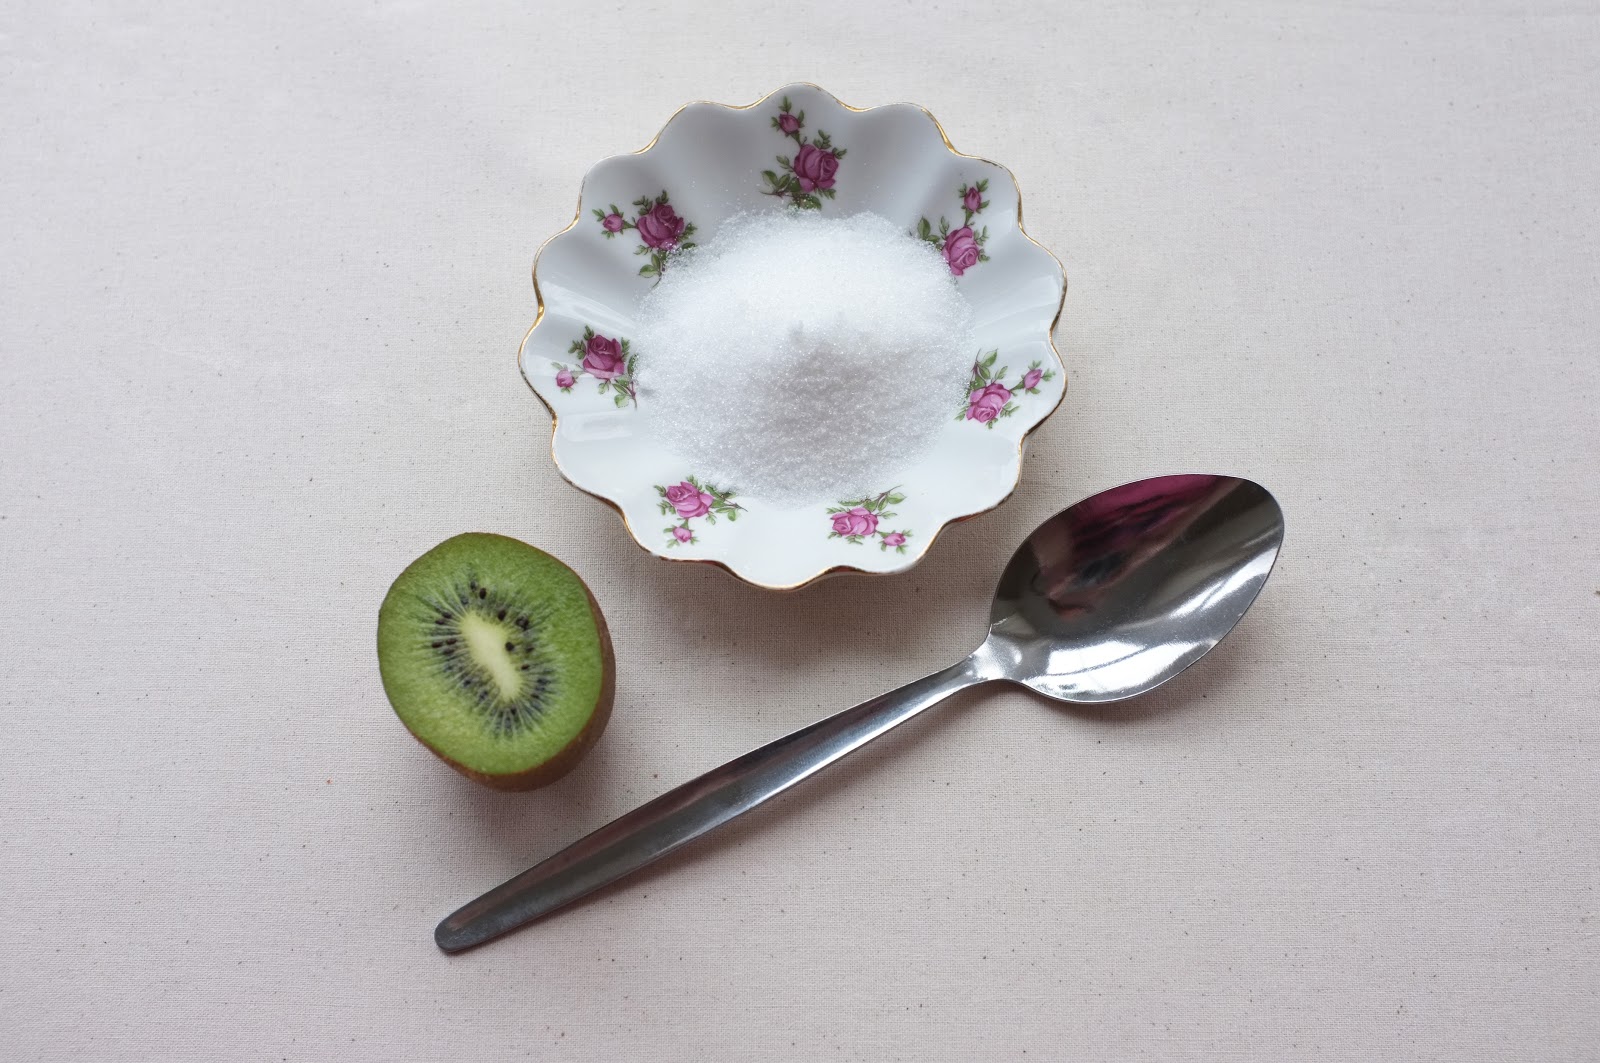
The other ingredients in this face refresher are 2-3 slices of cucumber, 1 tablespoon of caster sugar and the zest of an orange. I have raved about cucumber in my 3 Ways to Combat Puffy Eyes post. Cucumber is 90% water so its cooling and hydrating for your skin, the cucumber acts as the liquid ingredient of this recipe. I also zest an orange into this, this is optional but I think it adds a lovely zing to the aroma. Citrus is also amazing for the skin because of its high content of vitamin C, it can tighten pores and make your face look and feel a lot fresher, you can read more about how oranges are good for your skin here. The last ingredient I add is caster sugar, this helps to grind everything into a pulp in the pestle and mortar.


Once you have all your ingredients ready, put them into a pestle and mortar and grind away until it is a pulpy consistency. You could pop it into a food blender if you wanted. Once you have your face refresher ready you could place it into the fridge for half an hour just to chill it down or you can use it straight away. I massage the pulp around my face (over the sink to catch any drips). Once I have used all the pulp I rinse it off with some cold water and towel dry. This makes my face feel wonderfully soft, refreshed and ready to slip out for an evening of adventures. 

Hope you have a great, glamourous weekend <3

xkx

Friday, April 12, 2013

Kitchen Glamour - 3 Ways to Combat Puffy Eyes!

My eyes are super sensitive, they get puffy if any random allergies flare up, I have used make up wipes, there is a lot of dust around, basically they are the equivalent of a High Society Victorian lady who has forgotten her smelling salts. I have found that if I can take care of them as soon as the they start to inflate I have a better chance of restoring face status quo.


I have tried quite a few different things ranging from natural remedies to over the counter creams. But these are my favourite three 'go to' remedies. 

Cucumber is lovely and you will probably have it lingering in your fridge. Cucumber is 90% water and if you chop two slices of cucumber straight out of the fridge they are wonderfully cooling and hydrating for your eyes. 

Tea bags are an age old remedy for eyes that are in desperate need of R&R. The tannin in the tea bag gently reduces swelling and discolouration whilst the caffeine will help get your eyes back to their sparkly selves. Regular black tea is the best to use, keep some tea bags after you have made yourself a cuppa, let them cool (or put them in some cold water for a few minutes) give them a gentle squeeze and lay them on your eyes. You can put them in the fridge before you use them so they are nice and cool if you have the time. Lay them on your eyes for about 20 minutes and relax, I usually do this before bed so I can really chill out. After 20 minutes take the tea bags off and rinse your face with some cold water or you will look like a tea stained panda! 

The third trick I have up my sleeve is aloe vera, I usually use this if my eyes are feeling itchy and grainy. I chop off a little bit and squeeze the goo out and massage around my eyes. You can put the rest of the aloe in the fridge to use again if your eyes persist in being pests. You can pick up an aloe vera plant from about £5 and they are so useful, I keep one in the kitchen because they are brilliant to use on burns.

I have found that none of these are miracle cures that work right away, I will use a combination of these methods 2-3 times a day to get the best effect. Hope these tips will help your tired, puffy, peepers <3

xkx 

Friday, March 22, 2013

Kitchen Glamour - The Zingy C Exfoliator.

Kitchen Glamour is my new weekly post where I will be sharing my homemade cosmetics that I have created from items that you probably have in your kitchen cupboards. I will be posting Kitchen Glamour every Friday to give you little sparks of inspiration so you can look fabulous for your weekend of adventuring. Alongside the recipes I will also show you some of the more random ingredients that I make sure that I am never without. The vast majority of Kitchen Glamour will be Vegan friendly too. 

This is The Zingy C Exfoliator and I found it has been my salvation in battling against wintery skin. A ripe kiwi fruit is the main ingredient in this for 2 reasons: the first being that I only like to eat under ripe kiwi fruit so I needed to find a use for the ripe ones, and the second reason being that kiwi fruit are amazingly nourishing for your skin! The kiwi fruit is bursting with Actindin which is an enzyme that dissolves protein, this means that it is a natural chemical exfoliant that powers through the dead skin cells on your face. Kiwi fruit also have super high levels of vitamin C and E, this means that this fruit is an awesome antioxidant and that plays an important role in supporting the production of collagen. Even the little black seeds are useful as they are stuffed full of omega 3 acid and alpha lipoic acid which can help balance out the oil in your skin and give it a slight tightening effect which helps to reduce those pesky large pores! 


So all you need for my Zingy C Exfoliator are sugar and a ripe kiwi fruit. Peel the kiwi fruit and mash it up with a fork (you could use a food processor or a pestle and mortar if you want to crack the goodness out of those little black seeds). Once you have a nicely squished kiwi fruit then this one is really up to you and how much extra exfoliation you want. 

Add between 2-4 tbsp of sugar to the kiwi pulp. I use caster sugar because the grains are small and I find that it is quite gentle, Demerara would be a lot more scratchy for example because the grains are larger! Start with adding 2tbsp then see if you are happy with the consistency, if not add more. Once you have a mix you are happy with apply in circular motions to the face (over a sink is preferable unless you want a fruity bathroom floor). I take off the excess and leave on my face for a few minutes then rinse off with warm water, but if you have the time you could leave it on for 15-20 minutes then wash off. Watch out for the sticky bits under your chin too! Finish off with a flurry of facial moisturiser and you are ready to go out on the town with your glowing skin. 

Hope you have lots of lovelyness planned for the weekend. We are off to take Doris for her MOT retest tomorrow *eeep*.

xkx

Saturday, September 15, 2012

Cheap and Easy Face Exfoliator. (Can be made Vegan too)

I did a whole load of work today at the allotment and biked there and back, so when I got home I was ready for a hot bath and a nice relax. When I got out of the bath I decided to whip up my favourite facial exfoliator. This is a really easy and quick little product that you can make with ingredients you probably already have in the cupboard. All you are going to need is honey and sugar. To make it vegan just swap out the honey for maple syrup, it works just as well and smells amazing! Honey and maple syrup are both really nourishing for your skin so which ever one you use will be giving your face a treat. 


Runny honey is preferable (if you are using honey) than the set one, but if set is all you have just warm in it a cup, in a bowl of hot water. I use caster sugar because I find that granulated is slightly more scratchy, but once again granulated is fine just rub more gentle when you apply it. If your skin is really sensitive you could probably even try using Demerara sugar because the grains are smaller so it would make a gentler exfoliator. 


Once you have your ingredients ready just add 1tbsp of honey (or maple syrup) to 1tbsp of sugar and stir it together so it creates a paste like texture. 


It should look something like this when you have finished mixing.


Now all you need to do is apply it to your face with your fingers and gently rub in a circular motion. When you feel that you have exfoliated enough wash it off with some warm water. I finish up by wiping my face with a wet cotton wool pad just to get rid of the last few, pesky sugar grains.

And there you go, super soft, sweet, exfoliated face.