Showing posts with label sugar. Show all posts

Tuesday, April 1, 2014

How to Keep your Bargain Bucket Flowers Perkier for Longer.

I love cut flowers! I have two designated areas for flowers in the front room and nothing makes me happier than when both vases are full of blooms. Ed usually buys me flowers for the larger vase, so the smaller vase is up to me to fill. I am aware that cut flowers aren't the best when thinking about green choices, so to try and balance this out I make a big effort to buy flowers from the reduced buckets. I like the feeling that I am saving them from just being thrown out and wasted. 

This particular bunch cost me £3.30 and lasted me for a good week and a half, even without any flower food being included. I owe the longevity of these blooms to a crafty little concoction, which is super cheap and easy to make.    


It is really simple to make a homemade substitute for flower food, all you need is sugar. I use regular white granulated sugar, but you can use whatever sugar you have in your cupboards, as long as it dissolves easily in water. 

For a bunch of flowers this size, put about 5 tablespoons of sugar in with clean, cold water and give it a stir until the majority of the sugar has dissolved. Then put your flowers in a vase and enjoy them for a long time. You can also use lemonade, especially if you have some that has gone flat (I think this works mainly because of the sugar content). 

I have found that flowers with thick stems, like tulips, last for up to a week and a half whilst flowers with woodier stems, like roses, are prone to drooping much quicker after being retrieved from the reduced bucket. So keep this in mind when doing your bargain rummaging. 

Happy Perky Flowers.
Much Love,
Kirst

Friday, May 3, 2013

Kitchen Glamour - Refreshing Face Mojito.

I love Mojitos, they are the epitome of summer fun and frolics. So with spring in full throw and the promise of summer getting nearer I was inspired to make a mojito for my face. My pot of mint is thriving under the windowsill, I love rubbing the leaves as I walk past and smelling the fresh scent. I put about 3 healthy springs in this refresher, mint is really good for the skin, not only can it be soothing for irritated skin, but its high amounts of salicylic acid loosens up dead skin cells, which can help stop your pores from clogging. Mint also has vitamin A in it which means that it can strengthen and balance oily skin.

The other ingredients in this face refresher are 2-3 slices of cucumber, 1 tablespoon of caster sugar and the zest of an orange. I have raved about cucumber in my 3 Ways to Combat Puffy Eyes post. Cucumber is 90% water so its cooling and hydrating for your skin, the cucumber acts as the liquid ingredient of this recipe. I also zest an orange into this, this is optional but I think it adds a lovely zing to the aroma. Citrus is also amazing for the skin because of its high content of vitamin C, it can tighten pores and make your face look and feel a lot fresher, you can read more about how oranges are good for your skin here. The last ingredient I add is caster sugar, this helps to grind everything into a pulp in the pestle and mortar.


Once you have all your ingredients ready, put them into a pestle and mortar and grind away until it is a pulpy consistency. You could pop it into a food blender if you wanted. Once you have your face refresher ready you could place it into the fridge for half an hour just to chill it down or you can use it straight away. I massage the pulp around my face (over the sink to catch any drips). Once I have used all the pulp I rinse it off with some cold water and towel dry. This makes my face feel wonderfully soft, refreshed and ready to slip out for an evening of adventures. 

Hope you have a great, glamourous weekend <3

xkx

Friday, April 5, 2013

Kitchen Glamour - Coconut Lemon Sour Scrub.

I was sitting on the sofa the other day painting my nails after I'd had a shower, as I was paying close attention to my hands I realised just how awful they looked. The skin on them was dry and lifeless; they were crying out for some summer sun. The UK is barely providing any sun at the moment so I decided to concoct a scrub based on a tropical cocktail, a much cheaper alternative to a sun soaked holiday that's for sure! This scrub will exfoliate and moisturise all in one go and it gives you that little bit of extra love because it is heated over hot water. This means that it is lavishly warm and syrupy on your skin with a super delicious fragrance.

All you need is 2 tablespoons of lemon juice (you could use lime), 1 tablespoon of flaked coconut oil and 2 tablespoons of Demerara sugar. I'm using Demerara here because this is an all over body scrub so I like to use a sugar with larger grains, if you want a gentler scrub use caster sugar. 


Mix these ingredients up over a bowl of hot water so the coconut oil turns to its liquid state and it is ready to use. Scrub it all over your hands, massage it in really well for a couple of minutes then rinse the mixture off with some warm water and towel dry. DO NOT use soap to wash this off because you want the coconut oil to lounge on your hands and soak in. The coconut oil will not take long to quench your parched skin and because of the lemon juice you will not find your hands feeling like a oil slick. 

My hands felt and smelt absolutely amazing after this scrub. You could pay a lot of money for this treatment out trust me. Using the above amounts will easily make enough for your hands and face, but this scrub would be a great one to use all over your body, especially before a shower. Just be careful not to get too slippery before getting in the shower. I don't want you to be covered in bruises, even if you will have beautifully nourished skin!

I hope you try this because it really feels like a treat, a sure 'pick me up' when your are feeling like you need a little bit of scrubbing love. Let me know if you like it.

xkx

P.S. It is so good that even Ed asked if I could make him some hehe.  

Friday, March 22, 2013

Kitchen Glamour - The Zingy C Exfoliator.

Kitchen Glamour is my new weekly post where I will be sharing my homemade cosmetics that I have created from items that you probably have in your kitchen cupboards. I will be posting Kitchen Glamour every Friday to give you little sparks of inspiration so you can look fabulous for your weekend of adventuring. Alongside the recipes I will also show you some of the more random ingredients that I make sure that I am never without. The vast majority of Kitchen Glamour will be Vegan friendly too. 

This is The Zingy C Exfoliator and I found it has been my salvation in battling against wintery skin. A ripe kiwi fruit is the main ingredient in this for 2 reasons: the first being that I only like to eat under ripe kiwi fruit so I needed to find a use for the ripe ones, and the second reason being that kiwi fruit are amazingly nourishing for your skin! The kiwi fruit is bursting with Actindin which is an enzyme that dissolves protein, this means that it is a natural chemical exfoliant that powers through the dead skin cells on your face. Kiwi fruit also have super high levels of vitamin C and E, this means that this fruit is an awesome antioxidant and that plays an important role in supporting the production of collagen. Even the little black seeds are useful as they are stuffed full of omega 3 acid and alpha lipoic acid which can help balance out the oil in your skin and give it a slight tightening effect which helps to reduce those pesky large pores! 


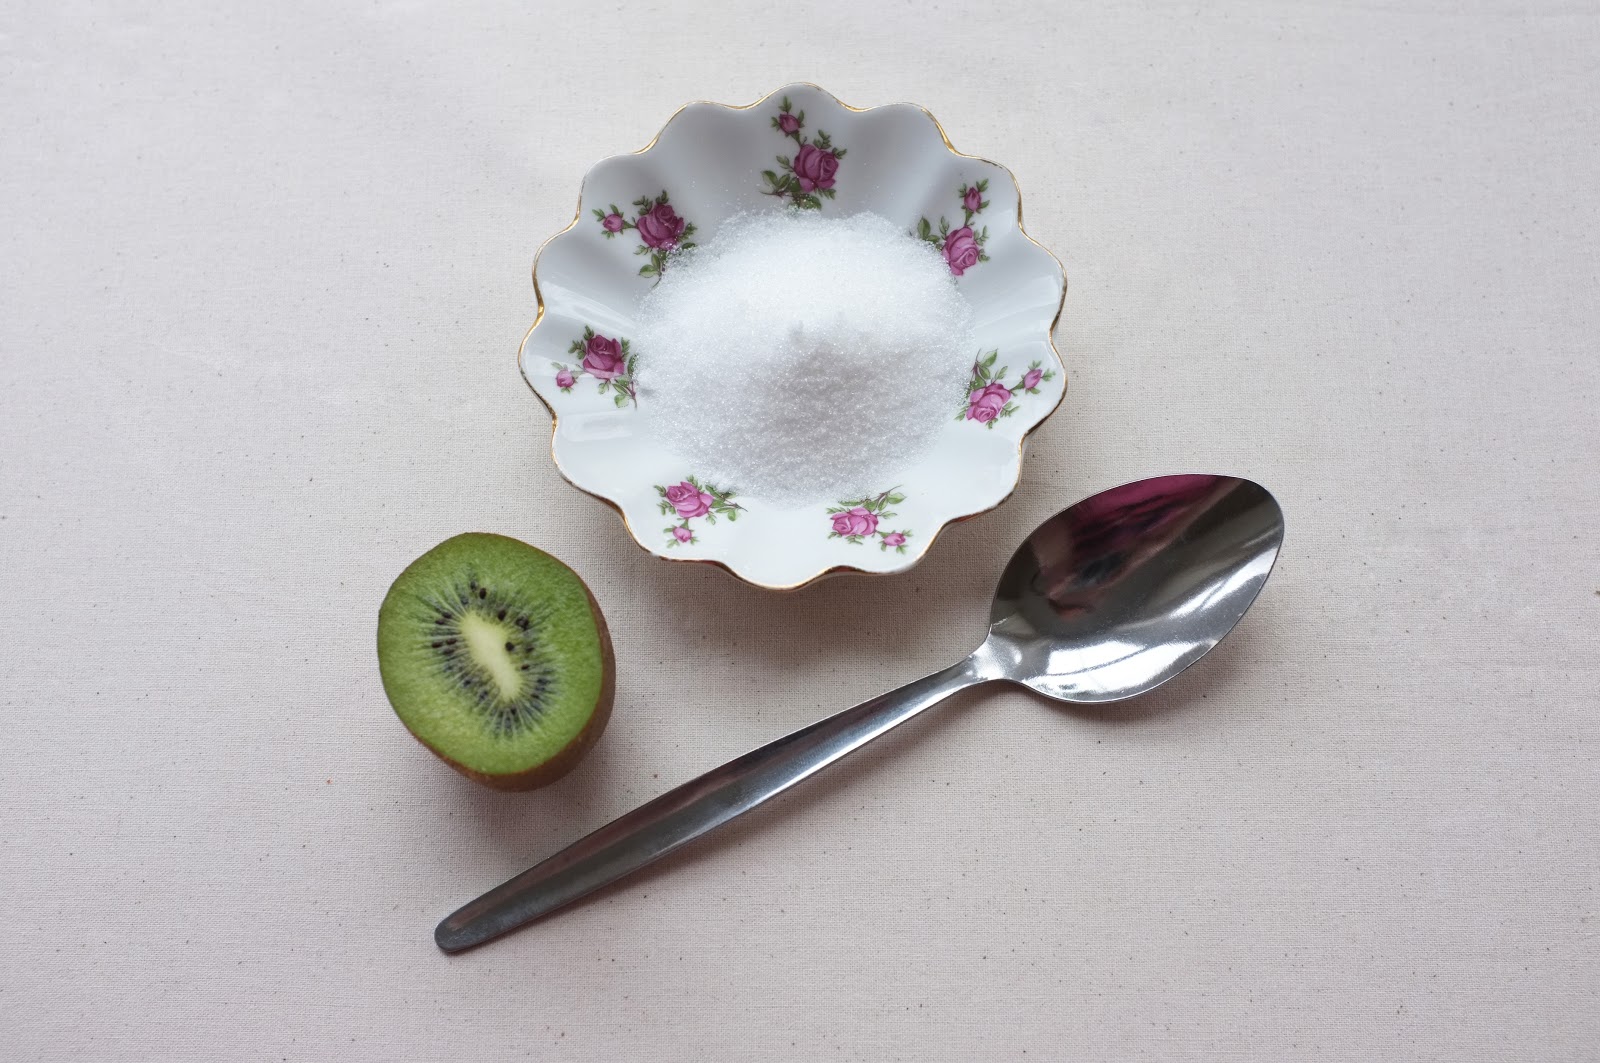
So all you need for my Zingy C Exfoliator are sugar and a ripe kiwi fruit. Peel the kiwi fruit and mash it up with a fork (you could use a food processor or a pestle and mortar if you want to crack the goodness out of those little black seeds). Once you have a nicely squished kiwi fruit then this one is really up to you and how much extra exfoliation you want. 

Add between 2-4 tbsp of sugar to the kiwi pulp. I use caster sugar because the grains are small and I find that it is quite gentle, Demerara would be a lot more scratchy for example because the grains are larger! Start with adding 2tbsp then see if you are happy with the consistency, if not add more. Once you have a mix you are happy with apply in circular motions to the face (over a sink is preferable unless you want a fruity bathroom floor). I take off the excess and leave on my face for a few minutes then rinse off with warm water, but if you have the time you could leave it on for 15-20 minutes then wash off. Watch out for the sticky bits under your chin too! Finish off with a flurry of facial moisturiser and you are ready to go out on the town with your glowing skin. 

Hope you have lots of lovelyness planned for the weekend. We are off to take Doris for her MOT retest tomorrow *eeep*.

xkx

Saturday, September 15, 2012

Cheap and Easy Face Exfoliator. (Can be made Vegan too)

I did a whole load of work today at the allotment and biked there and back, so when I got home I was ready for a hot bath and a nice relax. When I got out of the bath I decided to whip up my favourite facial exfoliator. This is a really easy and quick little product that you can make with ingredients you probably already have in the cupboard. All you are going to need is honey and sugar. To make it vegan just swap out the honey for maple syrup, it works just as well and smells amazing! Honey and maple syrup are both really nourishing for your skin so which ever one you use will be giving your face a treat. 


Runny honey is preferable (if you are using honey) than the set one, but if set is all you have just warm in it a cup, in a bowl of hot water. I use caster sugar because I find that granulated is slightly more scratchy, but once again granulated is fine just rub more gentle when you apply it. If your skin is really sensitive you could probably even try using Demerara sugar because the grains are smaller so it would make a gentler exfoliator. 


Once you have your ingredients ready just add 1tbsp of honey (or maple syrup) to 1tbsp of sugar and stir it together so it creates a paste like texture. 


It should look something like this when you have finished mixing.


Now all you need to do is apply it to your face with your fingers and gently rub in a circular motion. When you feel that you have exfoliated enough wash it off with some warm water. I finish up by wiping my face with a wet cotton wool pad just to get rid of the last few, pesky sugar grains.

And there you go, super soft, sweet, exfoliated face.

Wednesday, July 25, 2012

Lemon-balm-ade

As it has been such a lovely warm day again I couldn't resist to splash up some lemonade with a slight twist. This is a super easy recipe! To make around a pint all you need is 4 unwaxed lemons (if you use waxed you will get icky scum floating on the top), some sugar, around 1 pint of boiling water, some ice cubes and a little bunch of lemon balm.


I zested the four lemons, then chopped them in half and squeezed the bitter juice out of them (a handy tip is to roll the lemons or put them in hot water for a few minutes to get more juice out of them). 


Next I ripped up and added a small bunch of lemon balm. Then I spooned 3-4 tbs of sugar into the fragrant mix and poured over about 1 pint of boiling water. It is good to taste how sweet it is at this point (be careful not to burn your mouth though) if it is still a bit tart then add more sugar but I always think it is best to have it a bit sharper tasting because this tastes delicious when it is chilled. Then I left this in the fridge to cool. Once it is chilly I strained it through a sieve and chucked in a few handfuls of ice. 


I served this lovely-ade out of my little cottage teapot, in china tea cups with plenty of ice and some sprigs of lemon balm. I also made a little cocktail for Ed by putting a splash of gin into it which was rather yummy as well.